This page applies to Apigee and Apigee hybrid.
Overview
This tutorial guides you through the process of using Gemini Code Assist in Cloud Code to design an API and create an Apigee API proxy from a generated API spec. In this tutorial, you'll use a natural language prompt to design and create an API that manages sports-related blog posting for a website.
Before you begin
To complete this tutorial, you'll need:
- The Gemini for Google Cloud API set up for your Apigee project, or be an Apigee Org Admin so that you can add it. For Gemini Code Assist setup steps, see Use Gemini Code Assist.
- To be an Apigee API Admin on your Apigee project.
- To set up local development for your Apigee project in Cloud Code, if you haven't already done so. See Setting up Apigee API Management in Cloud Code for VS Code.
- Familiarity with OpenAPI specs, so that you can review the generated spec.
- (Optional) API hub set up for this project. Although not strictly required to use the Gemini Code Assist features described here, you won't be able to perform all steps without API hub.
Step 1: Load Apigee in Cloud Code
Open VS Code and click the Cloud Code icon. You should see your Apigee project and any APIs.
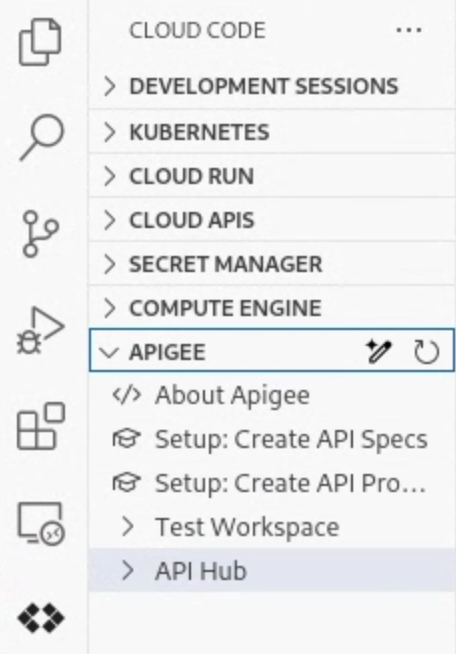
Step 2: Open the Create an API spec tab and enter a prompt
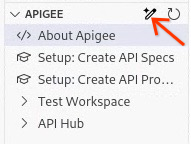
Click the magic wand in the Apigee row to open the spec creation tab.
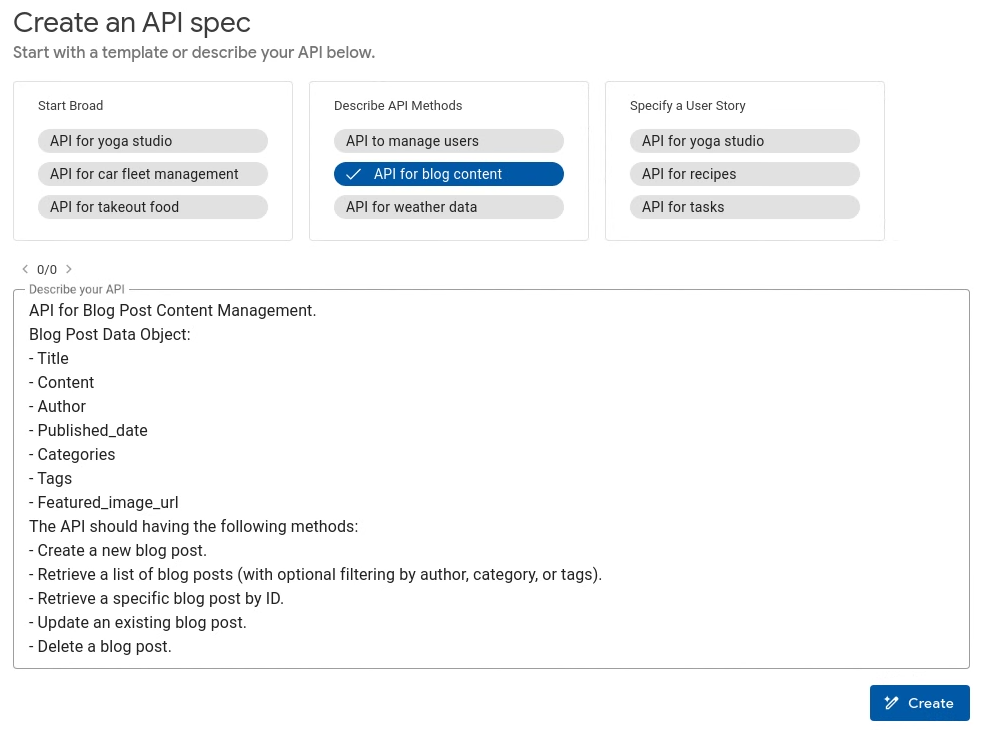
The tab shows templates you can use to start your API prompt. A free form prompt input field is available below them. Click API for blog content. A natural language prompt describing this API populates to the prompt input field.
Step 3: Create and view the spec
Click Create to generate an API spec from this prompt. Wait while the spec generates; the Output panel shows the steps as the spec is created.
Once created, view the spec description, endpoints, and schemas by scrolling down. To view the OpenAPI spec code, click View code.
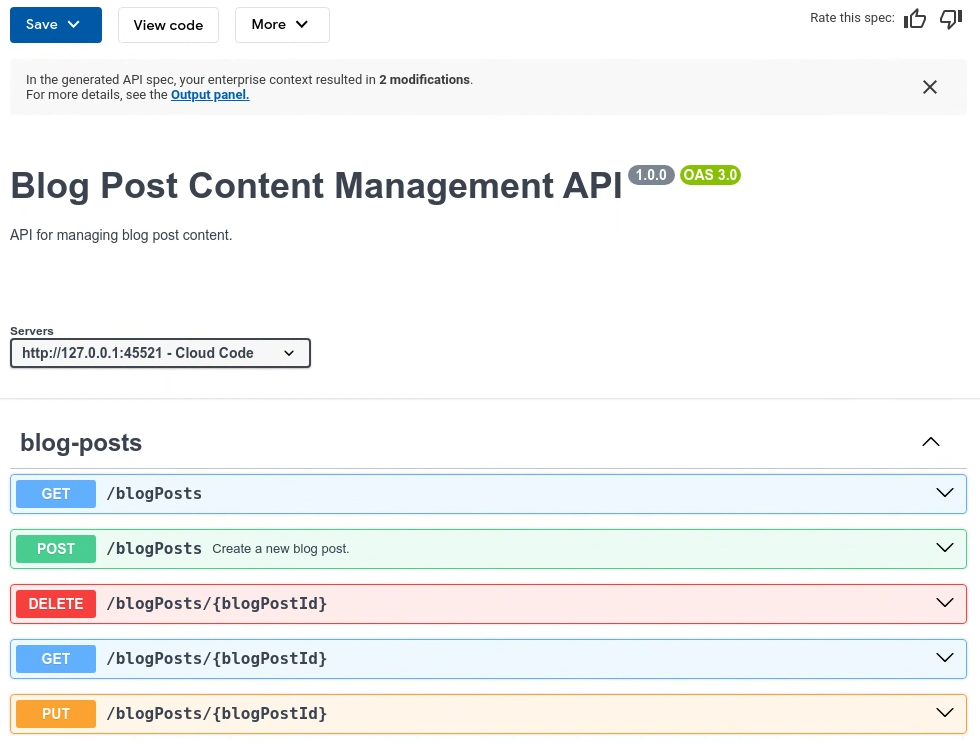
Step 4: Modify the prompt and recreate the spec
Go back to the prompt and add sport type as part of the data object.
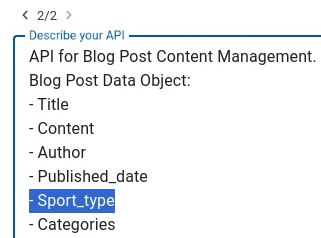
Click Create again to regenerate the spec. The you'll see the sport type in the updated spec.
Note that you can also go back to the previous prompt by clicking the prompt history at the top of the prompt input box.
Step 5: Edit the spec
You can change the spec by clicking View Code and typing your updates directly in the spec. For this example, change the description to "Sports Blog Post Content Management API".

Step 6: Test the API using a mock server
Test the API using the local mock server, which emulates responses for the API. In the Servers dropdown, select the option with Local development server in the name. Once selected, open the POST path and click Try it out.
Modify the values "author", "content", and "title" in the request body to use your own values:
{
    "author": "My name",
    "categories": [
      "string"
    ],
    "content": "This is my blog post",
    "featuredImageUrl": "string",
    "publishedDate": "string",
    "tags": [
      "string"
    ],
    "title": "Baseball in the age of AI"
  }
Click Execute to see a mock response from the API in the Responses section.
Step 7: Save your API to API hub
(Optional) Once your API is reviewed and final, make it available to developers by registering it with API hub:
- Click Register to API hub.
- Follow the prompts to register the API. See Register APIs for information on registering with API hub and the information you need to provide.
Click Save to save your new API with a name of your choice.
Step 8: Create an API proxy bundle from this spec
To create an Apigee API
proxy bundle
from this spec, click Create API proxy bundle from the More menu.
After creation, you should see the new proxy under apiproxies in the left menu. See
Developing API proxies
for information on working with API proxies in Cloud Code.

Next steps
- Learn more about designing and editing APIs using Cloud Code.
- Learn more about Gemini Code Assist features you can use in Apigee. See Use Gemini.
