Select Publish > Portals in the side navigation bar.
Perform one of the following:
If no portals existing in the organization, click Get started.
Otherwise, click + Portal above the list of existing portals.
In the Create a Portal dialog:
Enter My first portal in the Name field.
Notice as you enter the portal name, the default domain for the portal is displayed. For example: orgname-portalname.apigee.io, where orgname is the organization name and portalname is defined using the portal name converted to all lowercase and with spaces removed. For example: myorg-myfirstporatal.apigee.io
Optionally enter a description in the Description field, such as Stepping through the tutorial.
Click Create to create the new portal.
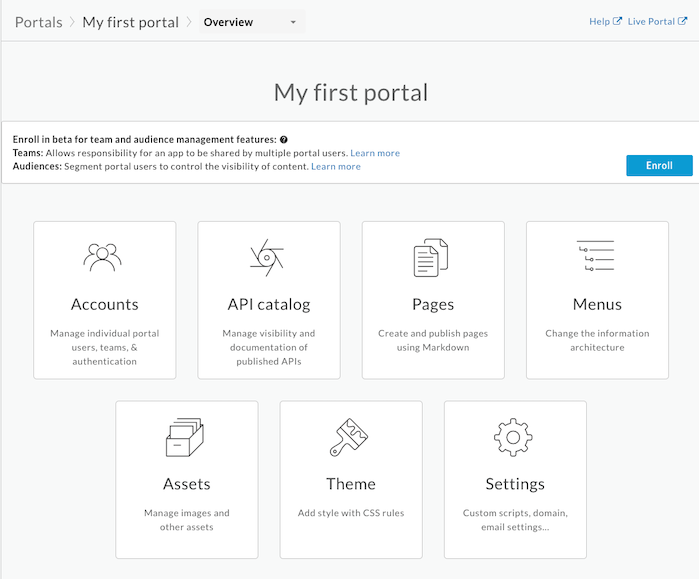
Your new portal is created and the portal landing page displays, as shown below:
[[["Easy to understand","easyToUnderstand","thumb-up"],["Solved my problem","solvedMyProblem","thumb-up"],["Other","otherUp","thumb-up"]],[["Hard to understand","hardToUnderstand","thumb-down"],["Incorrect information or sample code","incorrectInformationOrSampleCode","thumb-down"],["Missing the information/samples I need","missingTheInformationSamplesINeed","thumb-down"],["Other","otherDown","thumb-down"]],["Last updated 2025-03-10 UTC."],[[["This guide is for users of Apigee and Apigee hybrid platforms, focusing on creating a new portal."],["The first step involves signing in to the Apigee UI and navigating to the \"Publish \u003e Portals\" section."],["Users can initiate the creation of a new portal by clicking \"Get started\" if no portals exist, or \"+ Portal\" if they do, then name the portal."],["After entering a name and optional description in the \"Create a Portal\" dialog, clicking \"Create\" finalizes the new portal's setup."],["Upon creation, the portal landing page is shown, with the next step being to customize it."]]],[]]